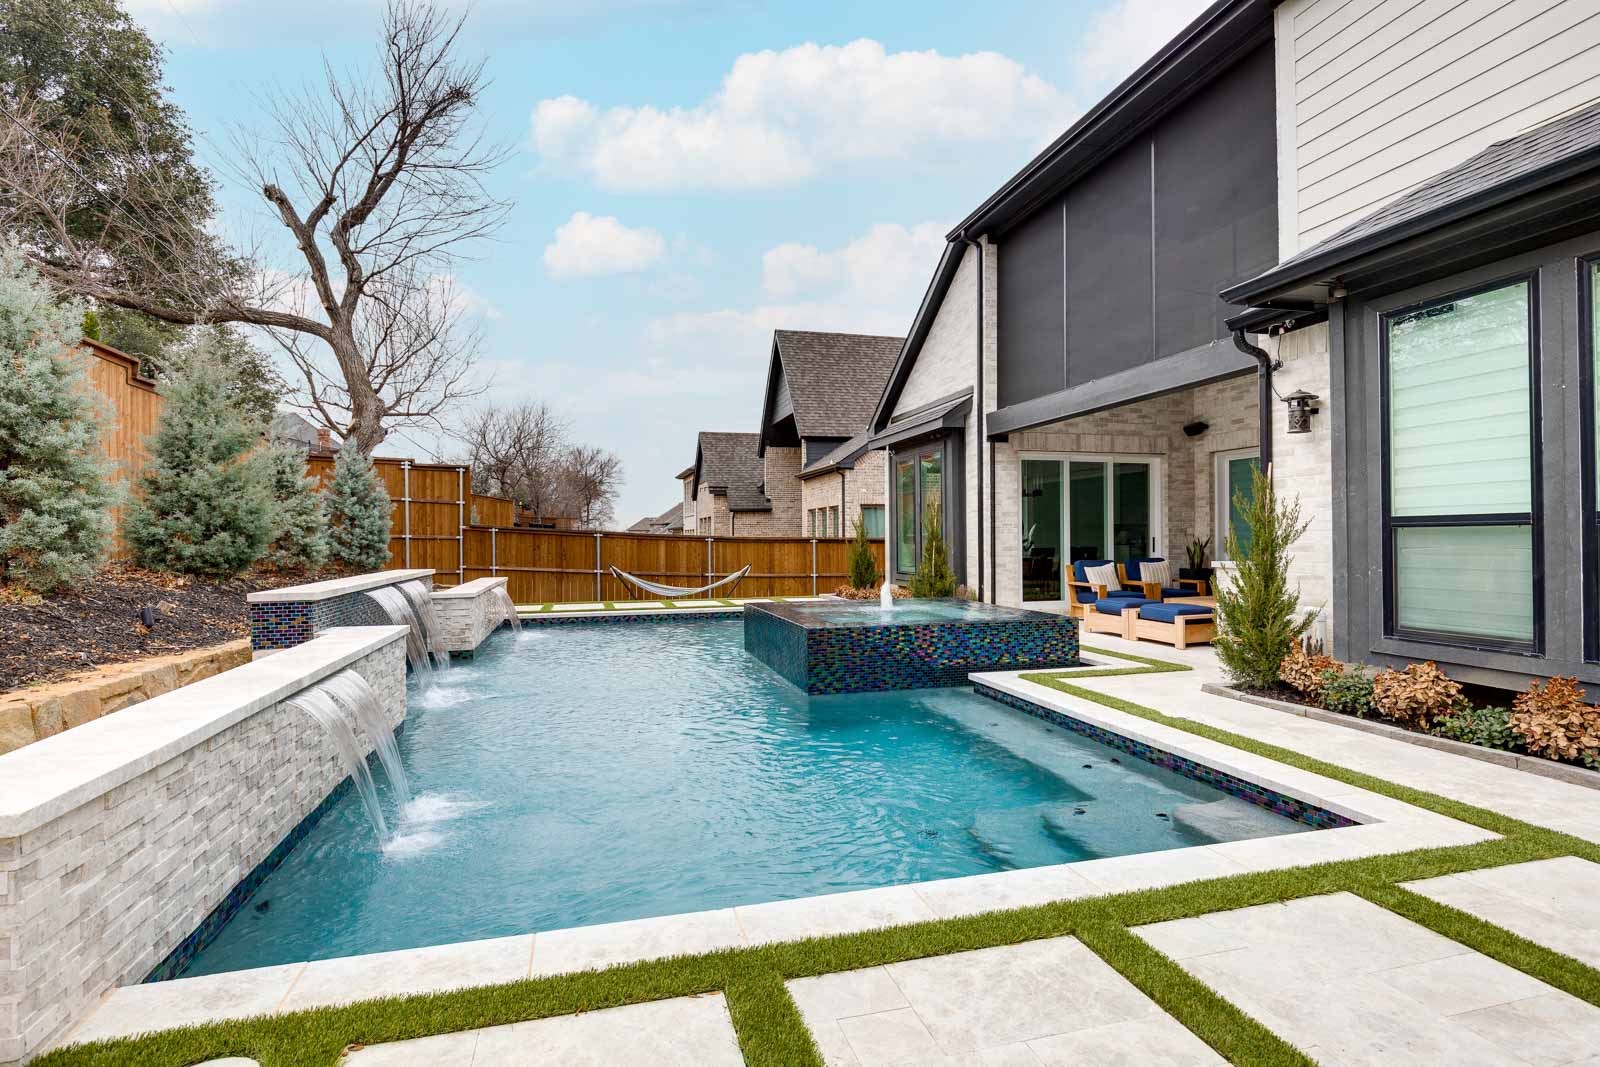
23 Aug Inground Pool Installation: What to Expect During the Process
Installing an inground pool is a significant home improvement project that requires careful planning and execution. Understanding the process can help you prepare for the various stages of installation and ensure that the project runs smoothly. Here’s a step-by-step guide to what you can expect during the inground pool installation process:
1. Initial Planning and Design
1.1. Consultation and Assessment:
Initial Meeting: Meet with a pool designer or contractor to discuss your vision, needs, and budget. They will assess your backyard space and provide recommendations.
Site Survey: A professional will conduct a detailed survey of your property, including measurements, soil testing, and an evaluation of any potential obstacles.
1.2. Design and Planning:
Custom Design: Work with the designer to create a custom pool design that fits your space and preferences. This includes deciding on the pool shape, size, depth, and additional features (e.g., spa, waterfalls).
Permits and Approvals: Obtain necessary permits and approvals from local authorities. This may involve submitting plans and adhering to zoning regulations and building codes.
1.3. Contract and Scheduling:
Contract Agreement: Review and sign a contract outlining the work scope, timeline, and costs. Please make sure all details are clearly defined.
Scheduling: Set a timeline for the installation process. The timeline can vary based on the pool type, design complexity, and weather conditions.
2. Preparation and Excavation
2.1. Site Preparation:
Clearing the Area: The installation team will clear the area where the pool will be installed, removing any vegetation, debris, or obstacles.
Marking: The pool’s outline will be marked on the ground to guide excavation and construction.
2.2. Excavation:
Digging: Excavation begins with digging out the area to the required depth and dimensions for the pool. Heavy machinery may be used for this process.
Soil and Drainage: The soil is assessed, and necessary drainage systems are installed to manage water runoff and prevent erosion or flooding.
3. Pool Construction
3.1. Pool Shell Installation:
Material Setup: Depending on the pool type (concrete, fiberglass, or vinyl), the pool shell will be installed. This involves setting up the steel rebar and pouring concrete for concrete pools. For fiberglass, the pre-fabricated shell is placed in the excavated hole. A steel or polymer frame is installed for vinyl, and the vinyl liner is fitted.
Plumbing and Electrical Work: Plumbing lines for water circulation and electrical wiring for lighting and equipment are installed. This includes connecting the pool’s filtration system, pumps, and heaters.
3.2. Backfilling and Compaction:
Backfilling: Once the pool shell is in place, the surrounding area is backfilled with soil to support the pool and fill any gaps.
Compaction: The soil is compacted to ensure stability and prevent shifting.
4. Pool Finishing
4.1. Surface Finishes:
Interior Surface: The interior surface of concrete pools is finished with plaster or another coating. For fiberglass pools, the gel coat provides a smooth finish. For vinyl pools, the liner is installed.
Decking and Surrounds: The pool deck and surrounding areas use concrete, pavers, or wood. This includes building walkways, coping, and additional features like steps or seating areas.
4.2. Final Touches:
Landscaping: The landscaping around the pool has been completed, including planting, grading, and installing any additional features like retaining walls or outdoor furniture.
Cleaning and Testing: The pool and all systems are tested to ensure proper operation. This includes checking the filtration system, pumps, and water chemistry.
5. Pool Fill and Start-Up
5.1. Filling the Pool:
Water Filling: The pool is filled with water, which may take several hours to a few days, depending on the pool size and water source.
Chemical Balancing: Once the pool is filled, water chemistry is balanced, including adjusting pH levels, alkalinity, and chlorine levels. This ensures the water is safe and ready for use.
5.2. Equipment Start-Up:
System Check: Pool equipment such as filters, pumps, and heaters are turned on and checked for proper operation. So that you know, any adjustments are made.
5.3. Training and Handover:
Owner Training: The pool contractor or technician will provide training on pool operation, maintenance, and safety. This includes how to use the equipment and perform basic upkeep tasks.
Final Walkthrough: A final inspection ensures everything is completed to satisfaction. Any remaining touch-ups or corrections are taken care of.
Conclusion
Installing an inground pool involves several key stages, from initial planning and design to final touches and handover. By understanding each step of the process, you can better prepare for the project, manage expectations, and ensure a smooth installation. I want you to know that working closely with your pool contractor and staying informed throughout the process will help you achieve the pool of your dreams and enjoy a beautiful, functional addition to your backyard.


